A New Website, Part 1
Canvas animations
From the beginning of working on this website I knew I wanted some sort of canvas animation. In January of 2013, not knowing that much Javascript, I stared experimenting with paper.js.
In its first iteration, the top area was a grid of hundreds of tiny dots that would scatter and recombine in response to mouse movement. I got it working, but it was unbearably slow.
In attempting to fix its performance, I switched over from paper.js to pure javascript canvas, and that did wonders. I was able to get up to 30 fps on Firefox. But that still wasn’t performant enough, so I scrapped it.
Around the same time I was trying to experiment with a bunch of different animations, because I wanted it to be different each time you visited (or refreshed). I had come up with this hexagon one and also this one I called ‘gem’.
###Network
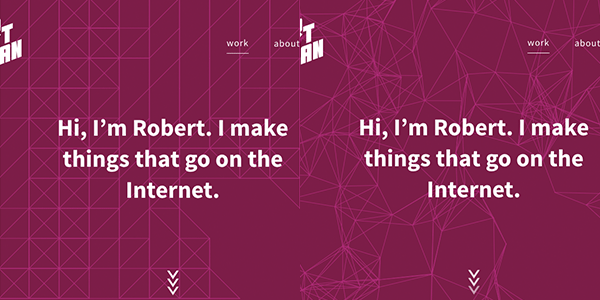
The ‘network’ one, as it’s called, went through a ton of iterations. The first one, which still has elements present in the current iteration, was simple: I randomly generated and randomly placed n ‘nodes’, and connected each node to all other nodes within a certain distance. That made that line pattern that was the core of it. I added interactivity a little while afterwards: nodes close to the mouse would be large and nodes far away would be tiny.
By tweaking the number of nodes and the distance with which they connected to each other, I was able to produce different visual effects. Tweaking is really important to me because when you make randomly generated artwork the goal is to make it look like it’s not randomly generated. You still have to keep in mind design goals: things like figure/ground relationships for instance.
###Adding Animation
After a while I realized that I would need some indication that mouse interaction exists, so I decided it should have a short animation right when you load the page. Coding it up was a bit of a trial, and figuring out how to switch from animating to listening for mouse movement was a bit difficult. I also had to figure out whether I wanted to use setTimeout (consistent speed but possibly choppy animation) vs requestAnimationFrame (consistently smooth but no guarantee of animation length). I decided on the latter, because performance.
###Making Some Noise
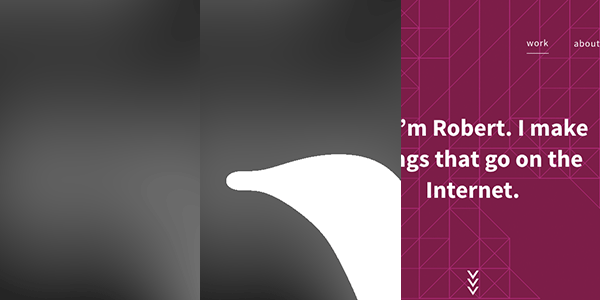
Around this time I made the unrelated decision to have the top section of my website take up the whole height of the browser window. I was hesitant to do this before because I’ve seen problems where people didn’t know there was content below, so they didn’t scroll. I put blinking arrows on the bottom to hopefully alleviate that.
But with a larger space, I needed more nodes to fill it, and it was getting crowded. I wasn’t getting the same type of look I was getting before, I was just getting a messy mesh every time. I googled ‘random generation with clusters’ and found an article on Perlin noise, and this implementation of it in javascript. After some experimentation, I was able to integrate it into my animation.
The way it works is that to generate nodes, instead of randomly placing a certain number of them, like before, I traverse a grid, and if that grid coordinate has a perlin value over a certain threshold, I put a node there. And then I randomly offset the position of the node so you can’t tell there’s a grid underneath.
There are a lot of variables there that can be tweaked: the size of the grid, the perlin threshold, and the position offset. I had to find good values for all of these to get the look I wanted.
The other plus to the grid approach was that when I was building the responsive version, I didn’t have to re-tweak the numbers for smaller areas. The grid would automatically take up less space.